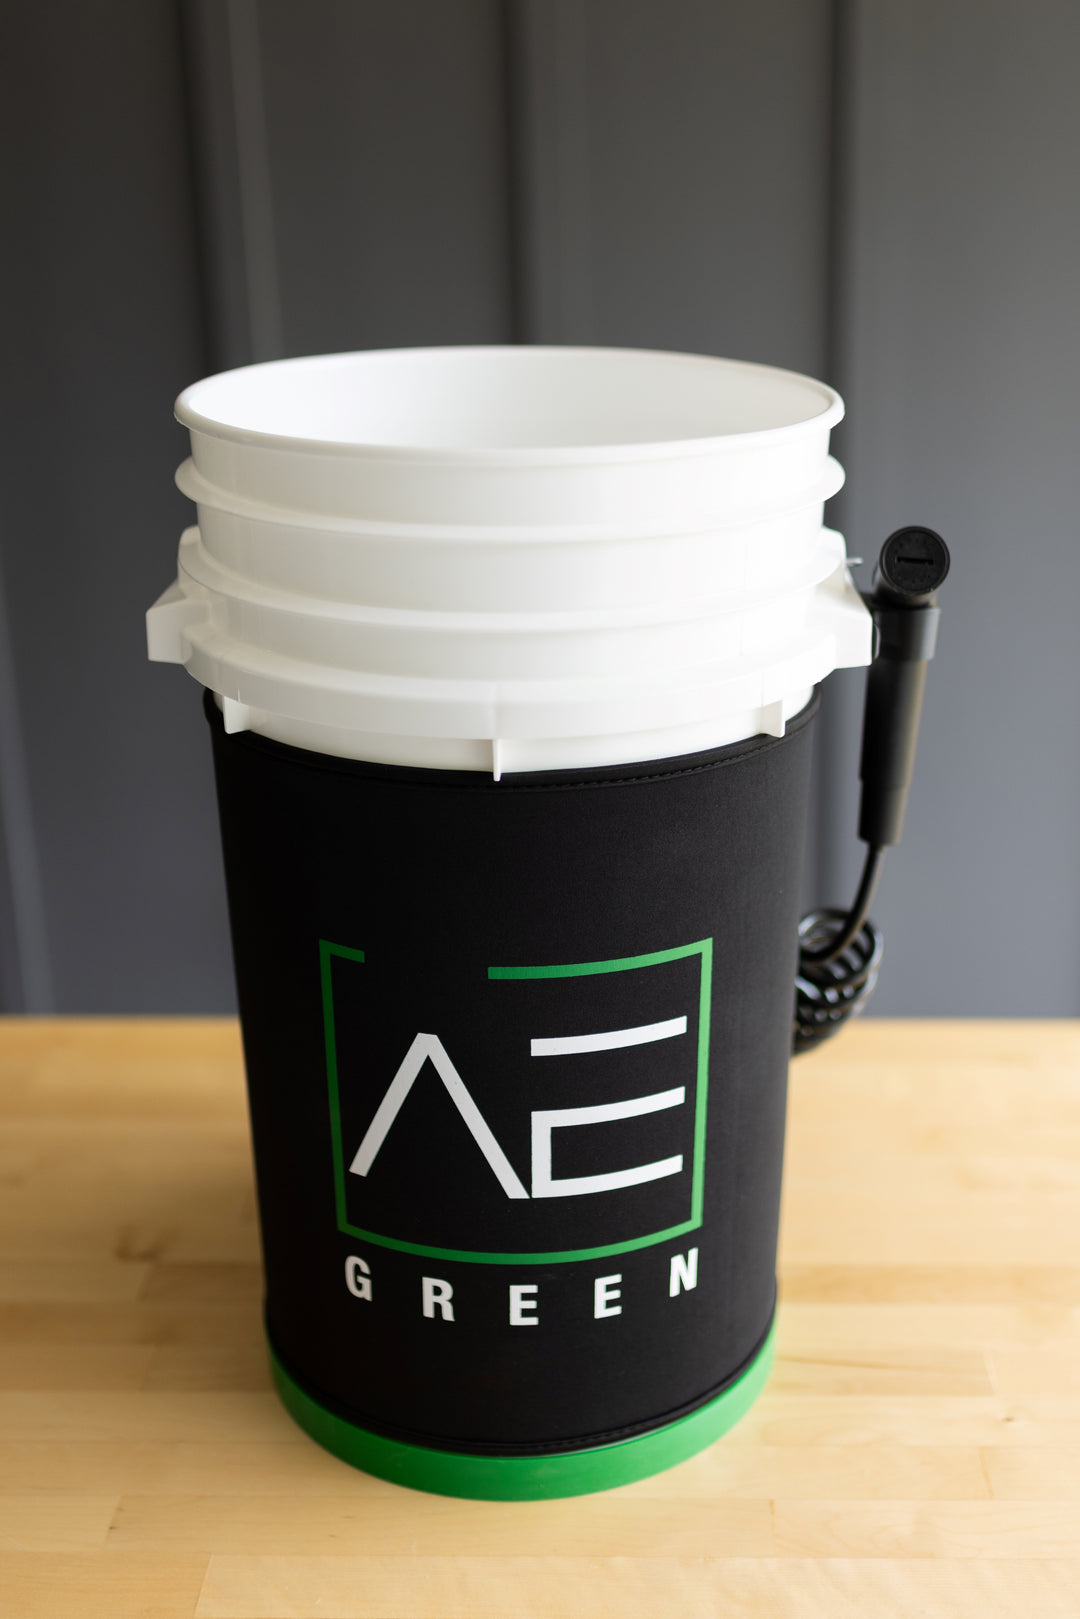
Automatic Washer Quick Start Guide
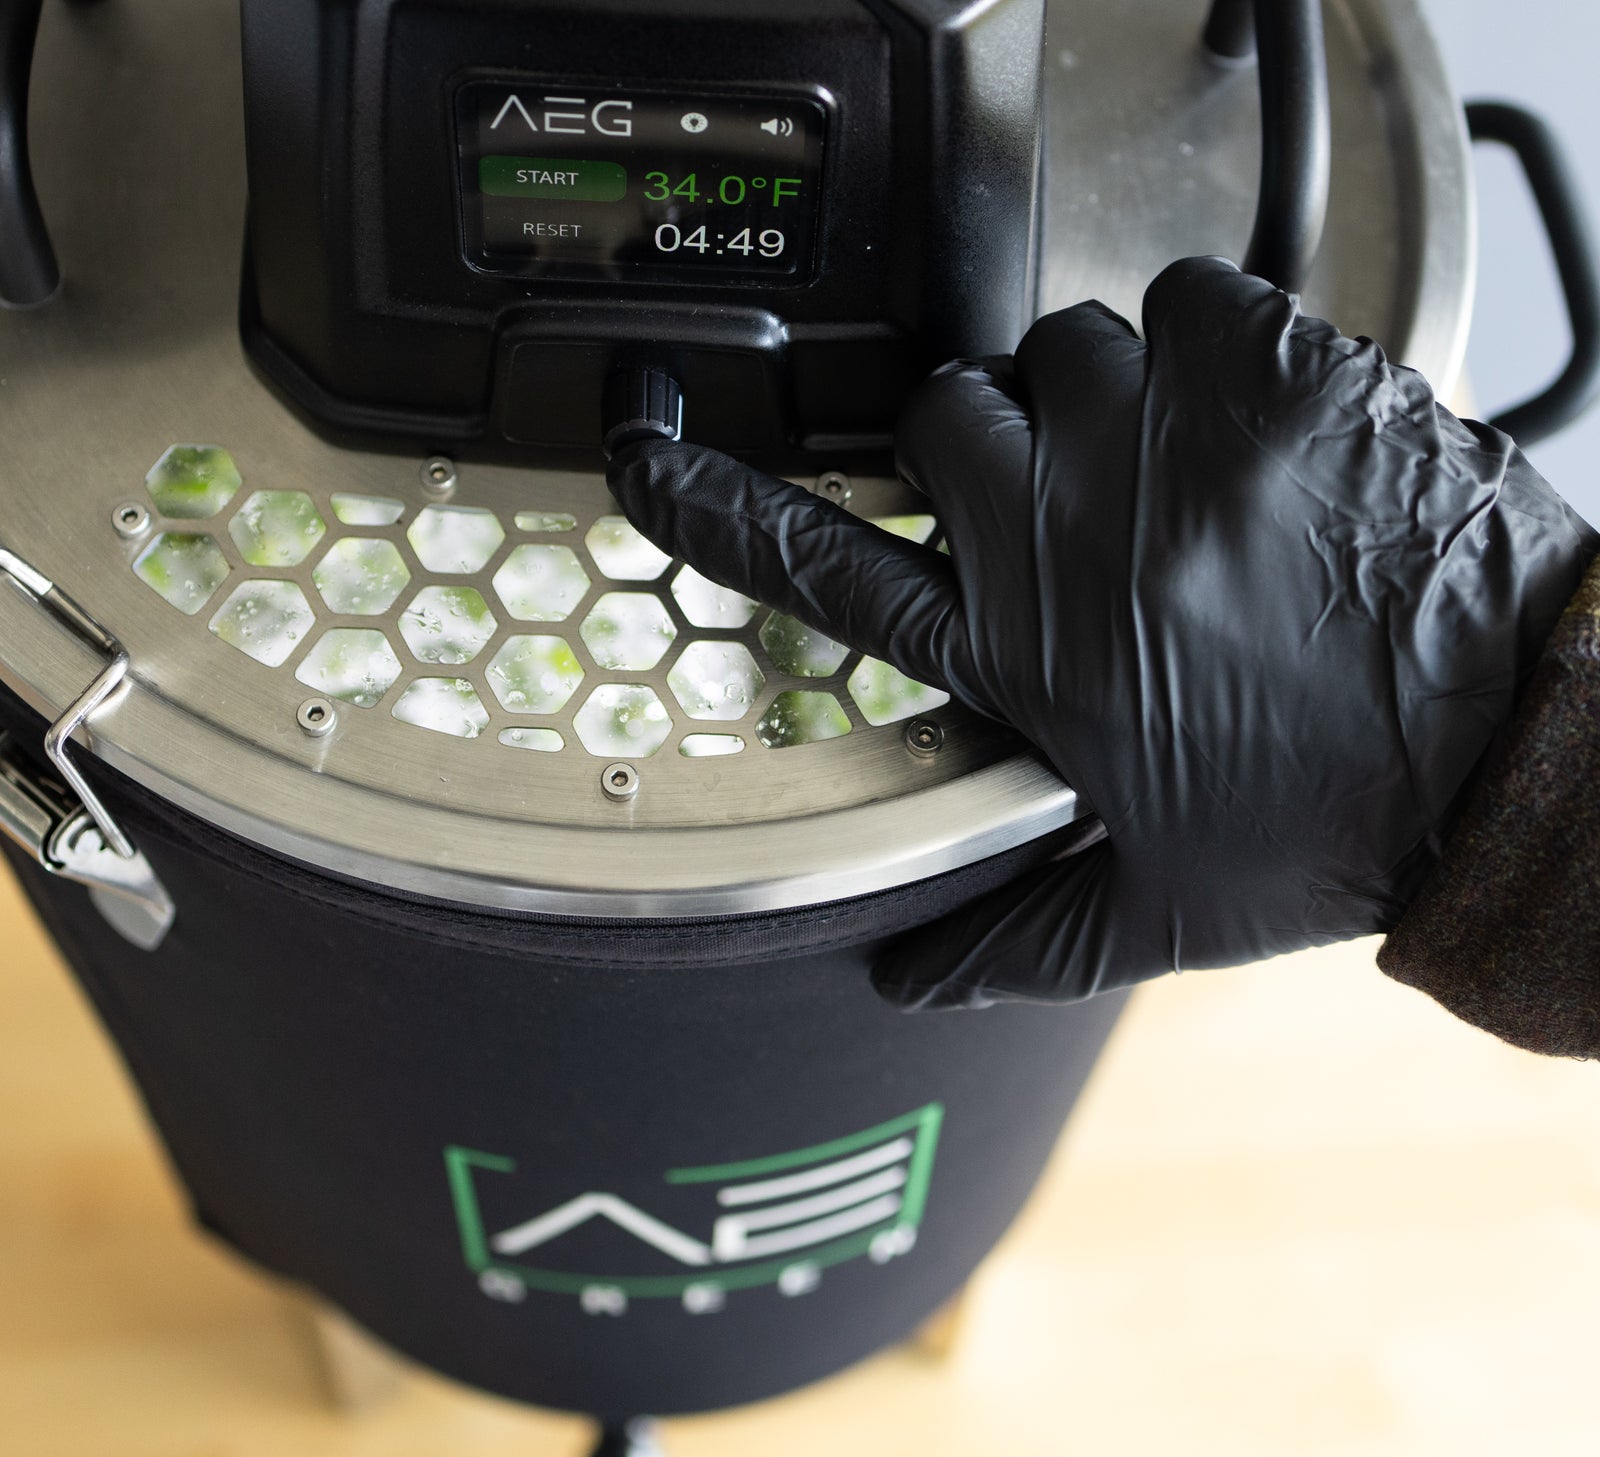
Get started with our step-by-step guide to making great Bubble Hash using the AEG Automatic Washer.

STEP 1: GET IT COLD. Start by loading the Automatic Washer with a few handfuls of ice prior to installing the false bottom, and a few handfuls of ice after the false bottom is installed. This will prevent resin from collecting on the surfaces of the washer.

STEP 2: LOAD UP. Next, load the washer with up to 2000 grams of fresh frozen. While you can always wash less, we don't recommend going over 2000g in any one wash. Add a few more handfuls of ice.
Note: the colder your environment is, the less ice you will need, and the more capacity the washer will have.

STEP 3: CHILLED WATER. Fill the washer with clean, pre chilled water to the 25 liter mark, as indicated inside the vessel. Pre-soaking your material for 20 minutes will ensure the plant matter is supple enough to withstand agitation. This step is crucial in preventing your hash from turning green.

STEP 4: TIME TO WASH. Now that we're ready to wash, navigate to the settings menu and select a gentle first wash. We recommend setting the paddle speed to 3, the spin pattern to 3, and washing for 20 minutes.
This is followed by more aggressive and shorter second and third washes, as necessary. We set the speed to 10 and the spin pattern to vortex for approximately five to 10 minutes for any additional washes. Typically, we run three washes, with the majority of the yield occurring in the first wash.

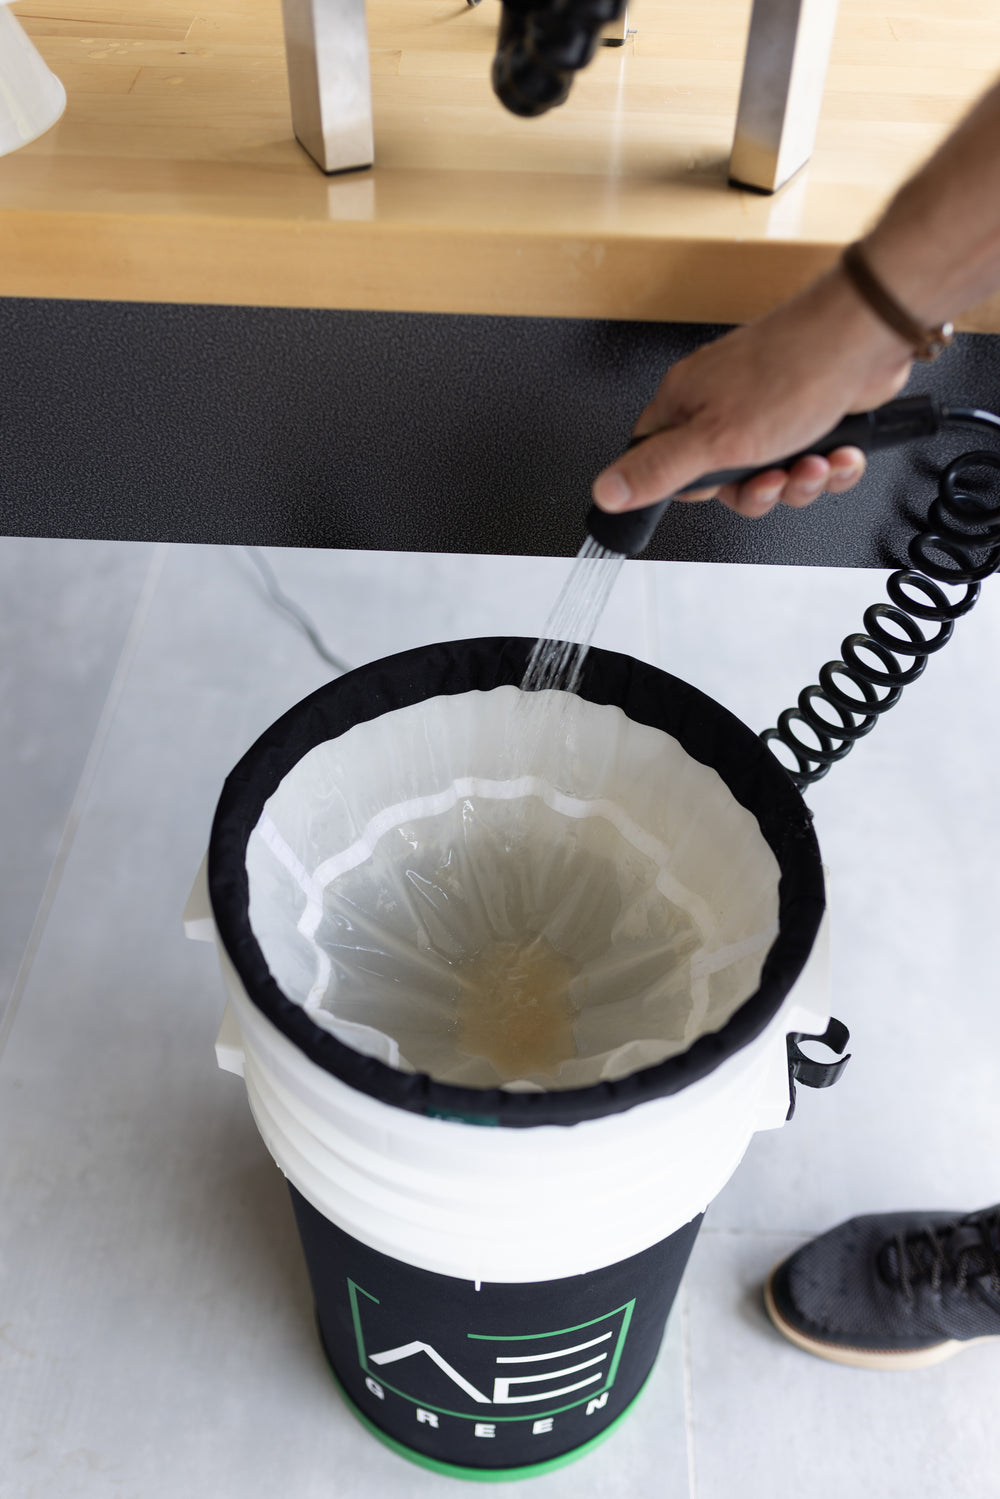
STEP 5: COLLECT YOUR HASH. After each wash is complete, drain the vessel through the work bags. Thoroughly rinse this material with ice cold water, and collect your Bubble Hash.


